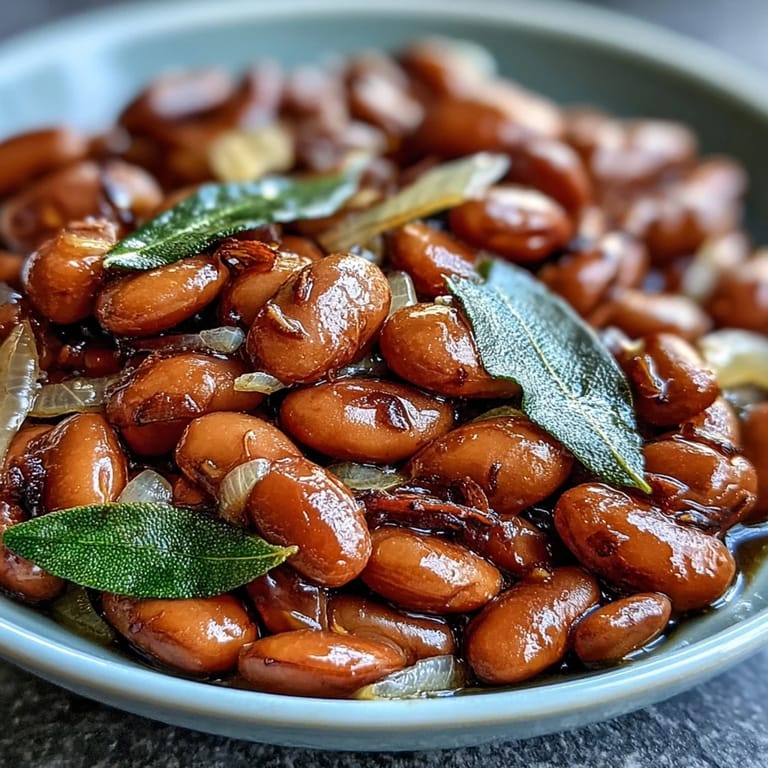
 Save to Pinterest
 The smell of onions and garlic hitting olive oil still pulls me into my grandmother's kitchen, even though she's been gone for years. I can practically hear her heavy wooden spoon clinking against the pot as she checked on her beans. That simple aroma became my foundation for understanding how something so humble could transform into pure comfort. My first attempt at recreating her pinto beans ended terribly salty, but eventually I learned that patience matters more than any measurement. Now these beans are a Sunday ritual in my house, filling every corner with that same welcoming fragrance.
Last winter, during that terrible ice storm that kept everyone inside for three days, my neighbor texted asking if I had any food. I brought over a warm bowl of these beans with some corn tortillas, and she ended up on my porch crying because the taste reminded her of her mother in Mexico. We ended up sitting on kitchen floor sharing stories and eating beans until the power came back on. Food connects us in ways we never expect until it happens.
Ingredients
- 1 pound dried pinto beans: Rinse them thoroughly and pick out any small stones or shriveled beans that might ruin the texture
- ½ medium yellow onion: Finely diced so it almost melts into the beans as they cook, creating that subtle sweetness throughout
- 2 teaspoons garlic: Fresh minced garlic gives you that aromatic base, about two cloves should do it perfectly
- 2 bay leaves: These add an earthy depth that you will not be able to identify but will definitely miss if you skip them
- ⅓ cup extra-virgin olive oil: This amount might seem generous but it is what creates that luxurious velvety texture in every bean
- 4 cups cold water: Cold water helps the beans cook evenly, and you can add more during cooking if they start looking dry
- 1 tablespoon kosher salt: Wait until the last ten minutes to add this, otherwise the beans will never soften properly no matter how long you cook them
Tired of Takeout? 🥡
Get 10 meals you can make faster than delivery arrives. Seriously.
One email. No spam. Unsubscribe anytime.
Instructions
- Soak the beans overnight:
- Place your pinto beans in a large bowl and cover them with about two to three inches of cold water. Let them sit at room temperature for eight to twenty-four hours until they have plumped up nicely. The longer soak time will give you creamier results.
- Prepare the pot:
- Drain and rinse those soaked beans really well, then transfer them to your medium Dutch oven or any heavy-bottomed pot you have. Add the four cups of cold water along with your diced onion, minced garlic, bay leaves, and that generous amount of olive oil.
- Bring everything to a gentle start:
- Set the pot over medium-high heat until it reaches a good rolling boil. You will notice some foam forming on top, so just skim it off with a spoon and discard it. This step only takes a few minutes but makes such a difference in clarity.
- Let them simmer slowly:
- Reduce your heat down to medium-low and let those beans bubble away gently for about an hour and a half to two hours. Keep the pot uncovered and stir every so often to make sure nothing is sticking to the bottom. Add more water if you see the beans peeking above the surface.
- Season at the perfect moment:
- During the last ten minutes of cooking, stir in your kosher salt and taste a bean to see if it needs any adjustment. The beans should be tender and creamy but still holding their shape beautifully. Remove those bay leaves before you serve them up.
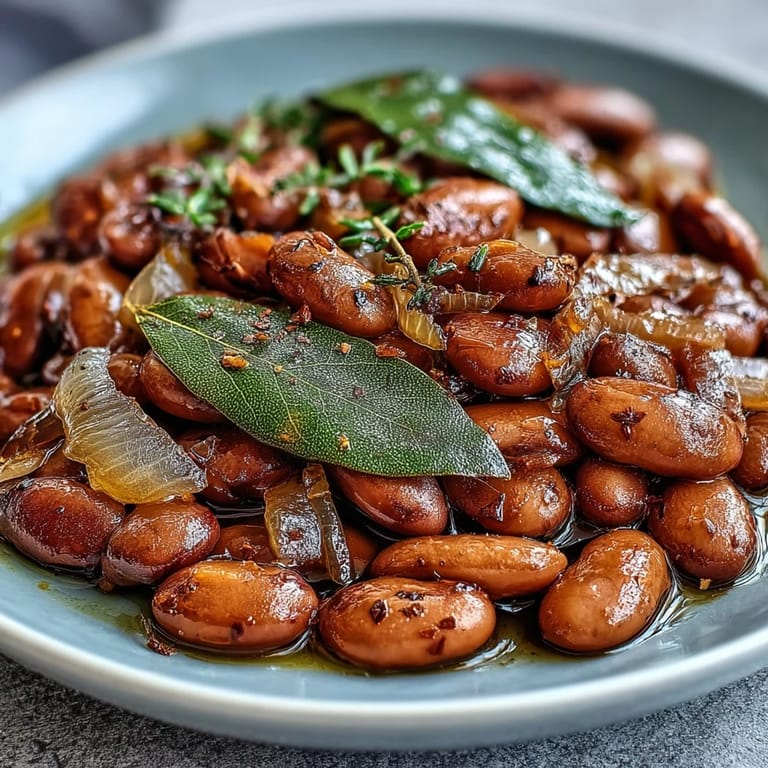 Save to Pinterest
 My daughter helped me make these for the first time last month, and she kept asking why we were not using canned beans since it would be so much faster. After tasting her first spoonful of the finished batch, she looked at me with wide eyes and said she finally understood why I always talk about food being love. She now asks for bean day every weekend, and honestly, I could not be happier about that request.
Making Ahead For Busy Days
I always double this recipe because the beans actually taste better the next day when the flavors have had time to become best friends. Store them in their cooking liquid in the refrigerator for up to five days, or freeze portions in freezer bags for those nights when cooking feels impossible. Just thaw and reheat gently with a splash of water to bring them back to life.
Serving Ideas Beyond The Bowl
These beans become absolutely magical when you mash them in a skillet with some of their cooking liquid and a little extra oil to make the simplest refried beans you have ever tasted. I also love scooping warm tortilla chips right into the pot and eating them standing up at the stove like nobody is watching. They work perfectly in burritos, on tostadas, or even just piled over rice with some hot sauce.
Building Your Flavor Foundation
Once you master this basic recipe, try adding a dried chili pepper or even a ham hock during simmering for a smoky depth that will make everyone ask what your secret is. The bay leaves are nonnegotiable in my kitchen because they add this mysterious earthiness that you cannot quite put your finger on but absolutely notice when it is missing.
- Trust the slow cooking process completely because rushing these beans will show in the final texture
- Keep that extra water nearby because evaporation happens and beans should never be left high and dry
- Taste your beans throughout the final hour to catch them at that perfect moment between tender and intact
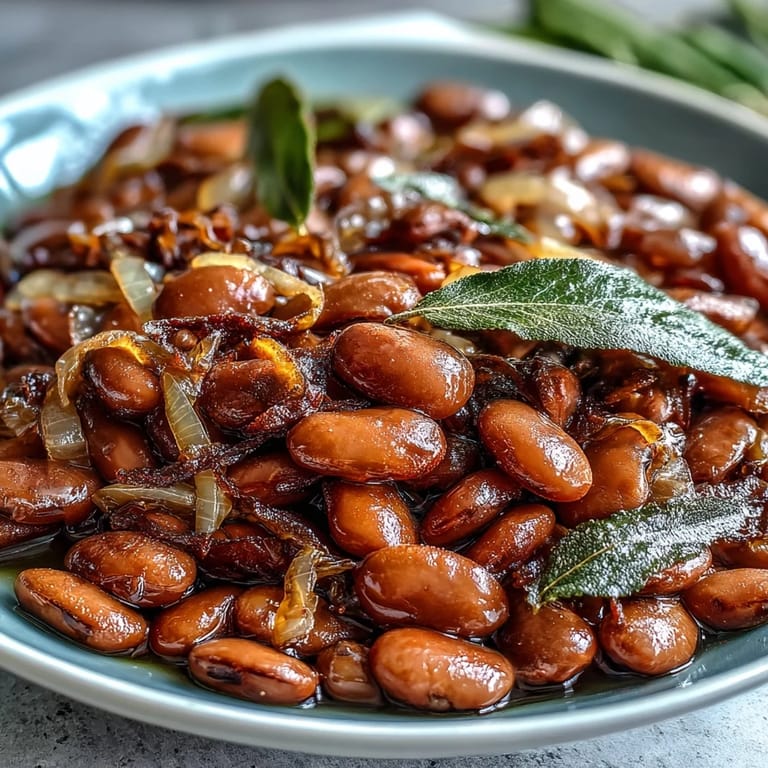 Save to Pinterest
 There is something profoundly satisfying about transforming a bag of dried beans into a pot of pure nourishment with almost zero effort. Make these beans soon and let your house fill with that smell that feels like home.
Recipe Questions & Answers
- → How long should I soak pinto beans before cooking?
Soak dried pinto beans in cold water for 8–24 hours at room temperature. Cover with 2–3 inches of water to allow for expansion. Longer soaking helps reduce cooking time and improves digestibility.
- → Why add salt in the last 10 minutes of cooking?
Adding salt early in the cooking process can make beans tough and prevent them from softening properly. Adding salt during the final 10 minutes ensures proper seasoning while maintaining the tender, creamy texture.
- → Can I cook these beans without soaking them first?
While you can skip soaking, it will significantly increase cooking time to 2–3 hours. Soaked beans cook more evenly and have better texture. If you're short on time, use the quick-soak method: boil for 2 minutes, then let soak for 1 hour.
- → What can I add for extra flavor?
Add a smoked ham hock, bacon, or dried chili pepper during simmering for depth of flavor. You can also use vegetable or chicken broth instead of water, or add cumin, oregano, and epazote for Mexican-style beans.
- → How do I store leftover cooked pinto beans?
Store cooled beans in an airtight container in the refrigerator for up to 5 days, including some cooking liquid to keep them moist. For longer storage, freeze in portions for up to 3 months. Thaw overnight in the refrigerator before reheating.
- → Can I make refried beans from this recipe?
Yes! Transfer the cooked beans to a skillet with a little oil and some reserved cooking liquid. Mash with a potato masher or wooden spoon until you reach your desired consistency. Add more liquid as needed for creaminess.