 Save to Pinterest
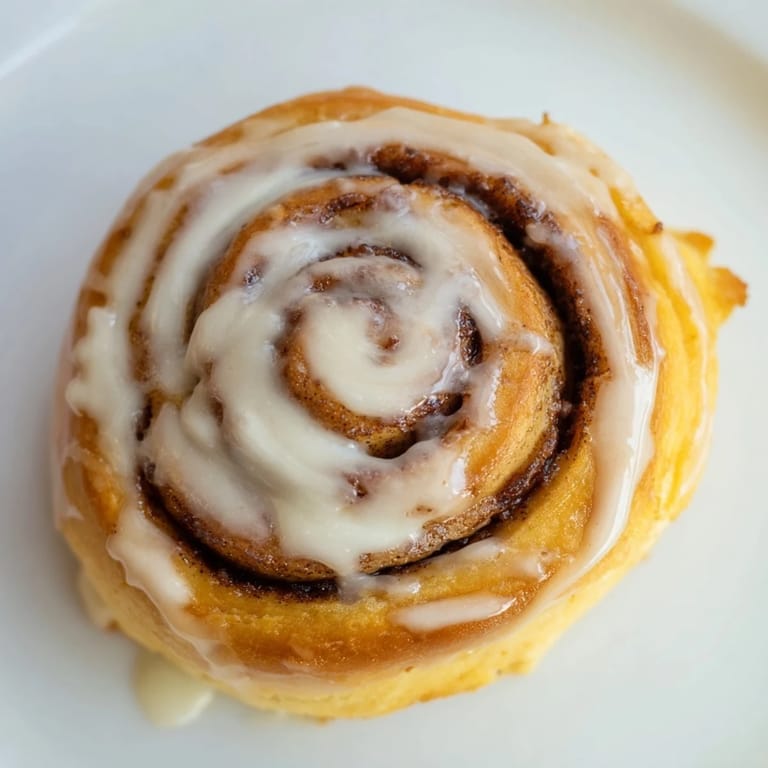
 My apartment smelled like a bakery that first time I attempted homemade cinnamon rolls, the buttery cinnamon scent wafting under my door and actually prompting my neighbor to knock and ask what I was making. I'd been intimidated by yeast doughs for years, convinced they required some mystical baking gift I didn't possess, but standing there watching the dough double in size felt like magic I could actually master. Now they're my go-to when I want to make someone feel special, because nothing says welcome quite like warm, pillowy rolls fresh from the oven.
Last Christmas morning, my sister took one bite of these rolls and declared I was never allowed to make boxed cinnamon sugar bread again. We sat around the table in our pajamas, stealing warm rolls straight from the pan while the glaze was still melty, and somehow that messy, sticky breakfast became one of my favorite holiday memories. There's something about homemade cinnamon rolls that makes people slow down and linger, and that's really the best kind of food magic.
Ingredients
- All-purpose flour: This creates the tender structure, though bread flour gives extra chewiness if that's your preference
- Active dry yeast: Make sure it's fresh and bubbly when proofed, or your rolls won't rise properly
- Warm milk: Exactly 110°F is perfect, too hot and you'll kill the yeast, too cold and it won't activate
- Granulated sugar: Feeds the yeast and adds subtle sweetness to the dough itself
- Unsalted butter: Melted for the dough, very soft for spreading, and softened again for that heavenly glaze
- Large eggs: Room temperature helps them incorporate better into the dough
- Salt: Don't skip this, it balances all that sweetness and makes the flavors pop
- Light brown sugar: Packed tight creates that gooey, molasses-like caramel swirl we all crave
- Ground cinnamon: Use fresh, not the jar that's been hiding in your cupboard for three years
- Cream cheese: Full fat and completely soft makes the smoothest glaze imaginable
- Powdered sugar: Sifting prevents lumps in your otherwise perfect topping
- Vanilla extract: Pure extract makes a noticeable difference in the glaze
- Milk: Adjust to get exactly the glaze consistency you love most
Tired of Takeout? 🥡
Get 10 meals you can make faster than delivery arrives. Seriously.
One email. No spam. Unsubscribe anytime.
Instructions
- Wake up the yeast:
- Dissolve your yeast in warm milk with just one tablespoon of sugar, then walk away for 5 to 7 minutes until you see a foamy layer on top
- Mix the base:
- Whisk in the remaining sugar, melted butter, eggs, and salt until everything's combined, then gradually work in the flour until a soft dough forms
- Work the dough:
- Knead on a floured surface for 6 to 8 minutes, feeling it transform from shaggy to smooth and elastic like a completely different substance
- First rise:
- Place in a greased bowl, cover with a warm towel, and let it rise in a cozy spot until doubled, about an hour
- Roll it out:
- Punch down gently, turn onto a lightly floured surface, and roll into a 16 by 12 inch rectangle
- Add the filling:
- Spread that soft butter all the way to the edges, then shower the dough with brown sugar and cinnamon like you're tucking it in for bed
- Roll and slice:
- Tightly roll from a long edge, pinch the seam to seal, then cut into 12 equal rounds using a sharp knife or even dental floss for clean cuts
- Second rise:
- Arrange in a greased baking dish, cover, and let them puff up again for 35 to 45 minutes until they're touching and looking gorgeous
- Bake golden:
- Bake at 350°F for 22 to 25 minutes until they're beautifully browned and your kitchen smells like heaven
- Make the glaze:
- While they bake, beat together cream cheese, butter, powdered sugar, vanilla, and just enough milk to make it pourable
- Finish and serve:
- Let the rolls cool for just 10 minutes, then drizzle generously and watch everyone's eyes light up
 Save to Pinterest
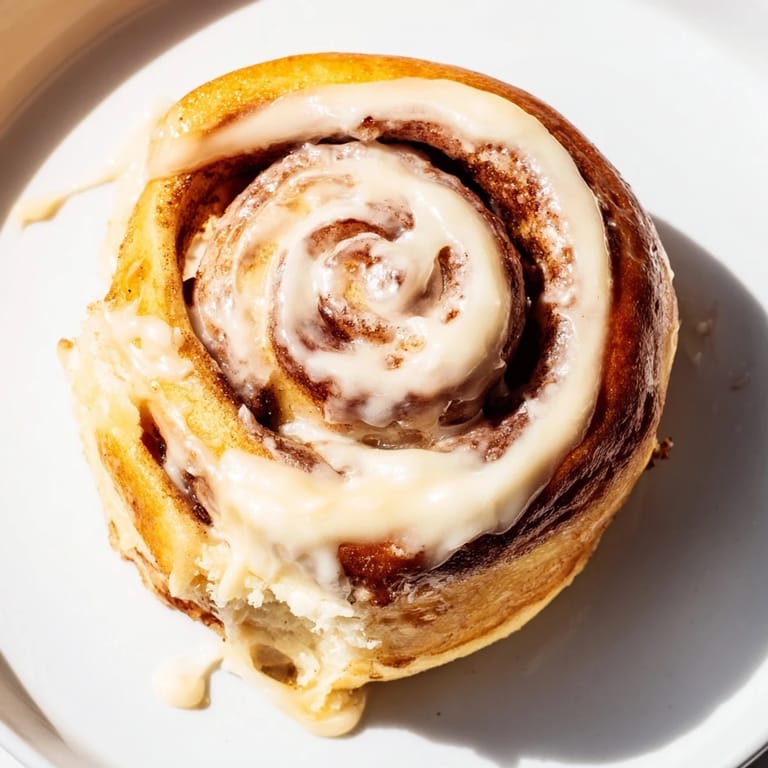
 These rolls have become my secret weapon for housewarming gifts and new baby meals, somehow managing to feel both indulgent and comforting all at once. I love how something so simple creates such joy, how people's faces light up when they see that pan of warm, glazed perfection.
Make Them Ahead
I often prep these the night before, stopping right after cutting the rolls and placing them in the baking dish. Cover tightly with plastic and refrigerate, then let them sit at room temperature for an hour while your oven preheats. They'll rise beautifully and taste just as fresh, which means you can wake up to homemade cinnamon rolls without the morning effort.
Customization Ideas
Sometimes I fold chopped pecans or raisins into the cinnamon sugar layer, adding a lovely texture and flavor contrast. A pinch of cardamom in the filling creates this sophisticated warmth that surprises people, while orange zest in the glaze makes everything taste bright and special. Don't be afraid to experiment with what your family loves.
Storage Secrets
These stay surprisingly soft for two days if covered tightly at room temperature, though the glaze does get absorbed into the rolls making them even more decadent. For longer storage, wrap individual rolls in plastic and freeze, then thaw overnight and reheat briefly in the oven.
- Reheat at 300°F for 5 to 8 minutes to restore that just-baked texture
- Extra glaze keeps for weeks in the refrigerator and transforms plain toast into something special
- The dough scraps from trimming the rectangle can be baked as cinnamon twists, because wasting that dough feels wrong
 Save to Pinterest
 There's something deeply satisfying about pulling apart a warm, sticky cinnamon roll you made with your own hands, and I hope this recipe becomes as loved in your kitchen as it is in mine. Happy baking, friend.
Recipe Questions & Answers
- → Why did my dough not rise properly?
Dough may fail to rise if the milk was too hot and killed the yeast, or if it was too cold and couldn't activate. Always aim for 110°F milk. Also ensure your yeast is fresh and not expired, and find a warm, draft-free spot for rising.
- → Can I make these the night before?
Absolutely! After shaping and placing rolls in the baking dish, cover tightly with plastic and refrigerate overnight. In the morning, let them sit at room temperature for about an hour to rise again before baking.
- → How do I prevent them from drying out?
Don't overbake—remove when golden brown. Apply the glaze while rolls are still warm to lock in moisture. Store any leftovers in an airtight container or wrap individually in plastic.
- → What's the best way to slice the rolls evenly?
Use unflavored dental floss for perfect slices—slide it under the log, cross ends over the top, and pull tightly. Alternatively, use a sharp serrated knife with a gentle sawing motion.
- → Can I freeze these before or after baking?
Yes! Freeze unbaked rolls after placing in the pan—thaw overnight in the fridge, then rise and bake. Alternatively, freeze baked rolls (unglazed) for up to 3 months. Reheat covered at 350°F until warm.