 Save to Pinterest
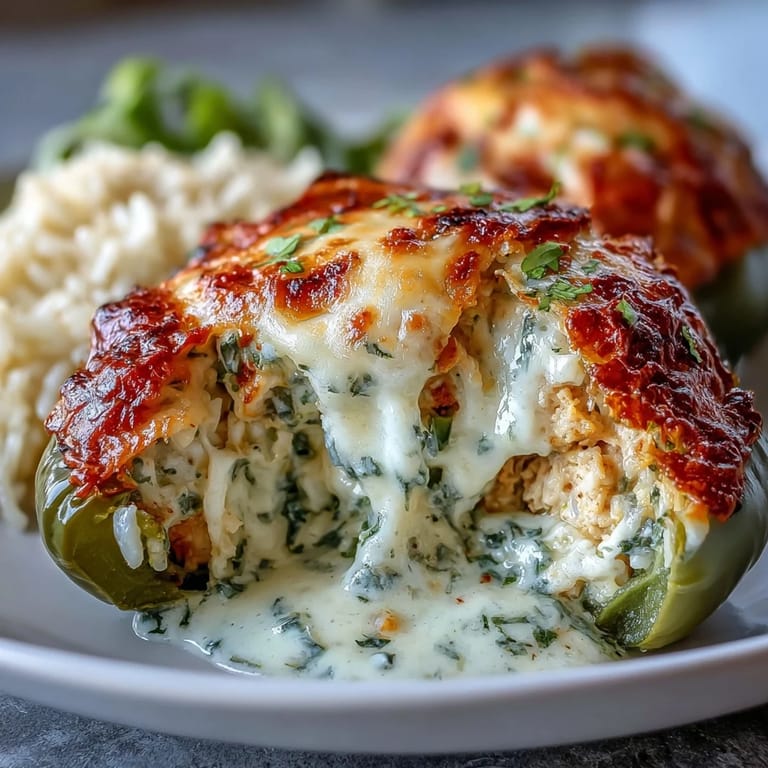
 My sister called me in a panic one Tuesday evening—she'd volunteered to bring dinner to a potluck and forgotten to plan anything. I walked her through these stuffed peppers over the phone, and twenty minutes later she texted back a photo of golden, bubbling peppers coming out of her oven. That's when I realized this dish wasn't just impressive; it was a lifesaver disguised as comfort food. The magic happens when creamy garlic chicken meets melted cheese inside a tender pepper, and somehow it feels fancy enough for guests but simple enough for a weeknight rescue mission.
I made these for my book club last fall, and what started as nervous plate arrangement turned into three people asking for the recipe before dessert. One friend lingered in my kitchen, genuinely shocked that something so creamy and rich could come together in under an hour. We ended up talking about how peppers transform from sturdy vegetables into edible bowls that somehow make ordinary ingredients feel like a celebration.
Ingredients
- Bell peppers: Choose colors based on your mood—red and yellow are sweeter, while green brings a slight bite that balances the richness beautifully.
- Chicken breast: Cooked and shredded works best, but a rotisserie chicken from the grocery store is your secret shortcut when time is tight.
- White or brown rice: Cook it ahead if you can, then you're just mixing instead of multitasking with a bubbling pot.
- Heavy cream: This is what makes the filling luxurious instead of dry—don't substitute with milk or you'll lose that silky texture.
- Parmesan cheese: Freshly grated makes an enormous difference in flavor; pre-shredded varieties have anti-caking agents that can make the sauce slightly gritty.
- Mozzarella cheese: This creates that golden, slightly browned top layer that everyone fights over.
- Garlic and onion: The aromatics that make your kitchen smell like something special is happening—don't skip the sauté step or they'll taste raw and harsh.
Tired of Takeout? 🥡
Get 10 meals you can make faster than delivery arrives. Seriously.
One email. No spam. Unsubscribe anytime.
Instructions
- Prep your oven and peppers:
- Heat your oven to 375°F and get a baking dish ready with a light coating of oil. Cut the tops off your peppers, scoop out the seeds and white membranes, then arrange them standing upright like little edible cups waiting to be filled.
- Build the flavor base:
- Heat oil in your skillet over medium heat, then let the diced onion soften for a few minutes—you want it translucent and sweet, not still crunchy. Add the minced garlic and let it bloom for just a minute until your kitchen smells incredible.
- Combine the filling:
- Stir in your cooked chicken, rice, Italian seasoning, salt, and pepper, mixing everything so the seasonings are evenly distributed. Pour in the heavy cream and most of the Parmesan, stirring until you have a creamy, cohesive mixture that's warm and fragrant.
- Fill and top:
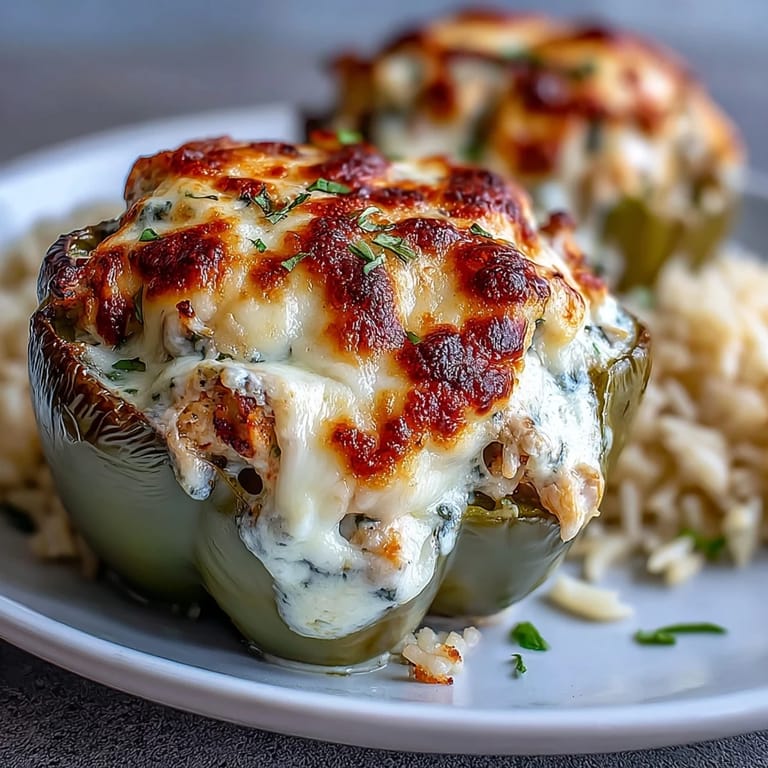
- Spoon the creamy mixture evenly into each pepper, filling them generously but not overflowing. Sprinkle mozzarella and the remaining Parmesan on top of each pepper in an even layer.
- Bake covered first:
- Loosely tent the baking dish with foil and bake for 25 minutes—the foil traps steam so the peppers steam-cook and become tender without the filling drying out.
- Finish golden:
- Remove the foil and bake for another 10 to 15 minutes until the cheese turns golden brown and the peppers are completely tender when you pierce them with a fork. Watch carefully during this final stretch so the cheese colors beautifully without burning.
- Garnish and serve:
- A sprinkle of fresh parsley on top adds color and a bright note that cuts through the richness. Serve immediately while the cheese is still stretchy and warm.
 Save to Pinterest
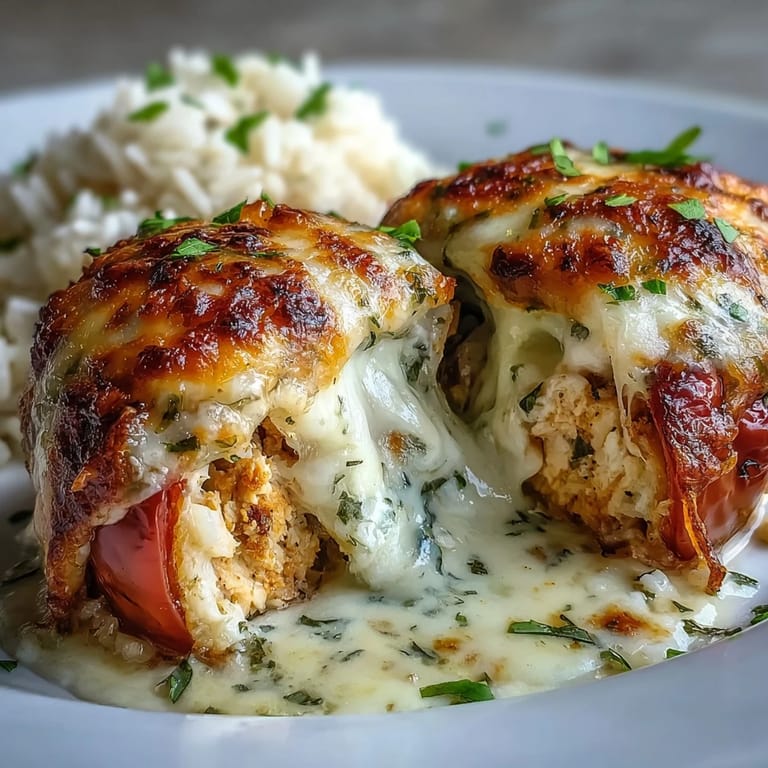
 The first time I made these for my mom, she actually closed her eyes after the first bite and said, 'This doesn't taste like a weeknight dinner.' I think she meant it as the highest compliment possible. That moment taught me that sometimes the simplest ingredient combinations create something that feels far more indulgent than it actually is.
Timing and Make-Ahead Magic
You can absolutely prepare these peppers up to 8 hours ahead—just cover the filled baking dish tightly and refrigerate until you're ready to bake. The filling actually benefits from sitting together for a bit, as the flavors meld and deepen. If baking from cold, add an extra 5 to 10 minutes to your covered bake time, then watch for the cheese to turn golden before pulling them out.
Flavor Variations That Work
This filling is incredibly forgiving and welcomes additions without losing its identity. Sautéed mushrooms add earthiness, fresh spinach brings brightness, and a handful of sun-dried tomatoes can lend a subtle sweetness. I've also experimented with swapping half the Parmesan for sharp cheddar, which shifts the flavor profile from creamy-classic to slightly bolder and more complex. Trust your instincts—if you love it, it probably belongs here.
Serving and Pairing Ideas
These peppers shine as the main event, but they're not demanding about what you serve alongside them. A crisp green salad tossed with lemon vinaigrette balances the richness, while garlic bread turns dinner into something more festive. If you're thinking about wine, a chilled white like Pinot Grigio or Chardonnay cuts through the creaminess beautifully, though honestly, these are delicious with nothing fancy at all.
- Serve straight from the oven while the cheese is still stretchy and warm.
- Leftovers keep for three days in the refrigerator and reheat gently at 325°F until warmed through.
- Freeze unbaked peppers for up to three months, then bake directly from frozen (add 15 minutes to cooking time).
 Save to Pinterest
 This recipe has quietly become the thing people ask me to bring, and I've stopped being surprised by that. There's something about a dinner that looks this impressive but asks so little of you that feels like winning at cooking.
Recipe Questions & Answers
- → Can I make these stuffed peppers ahead of time?
Yes, prepare the filling and stuff the peppers up to 24 hours in advance. Store covered in the refrigerator, then bake when ready to serve. You may need to add 5-10 minutes to the baking time if starting from cold.
- → What type of chicken works best?
Rotisserie chicken works wonderfully for convenience, or use leftover cooked chicken breast. Poached or baked chicken breast shredded into bite-sized pieces absorbs the creamy sauce beautifully while maintaining texture.
- → Can I freeze these stuffed peppers?
Yes, freeze assembled uncooked peppers for up to 3 months. Wrap tightly in foil and freezer-safe bags. Thaw overnight in the refrigerator before baking as directed, adding about 10 minutes extra cooking time.
- → How do I know when the peppers are done?
The peppers should feel tender when pierced with a fork, similar to roasted vegetables. The cheese on top should be golden and bubbly, and the filling should be hot throughout. A thermometer inserted into the center should read 165°F.
- → What can I serve with these peppers?
A crisp green salad with vinaigrette cuts through the richness. Garlic bread, roasted vegetables, or steamed broccoli also complement well. For wine, try a chilled Pinot Grigio or buttery Chardonnay.
- → Can I make this dairy-free?
Substitute heavy cream with full-fat coconut milk or cashew cream. Use nutritional yeast or dairy-free Parmesan alternative. The texture will be slightly different but still delicious and satisfying.