 Save to Pinterest
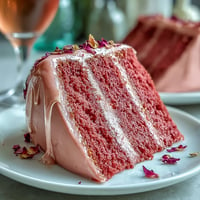
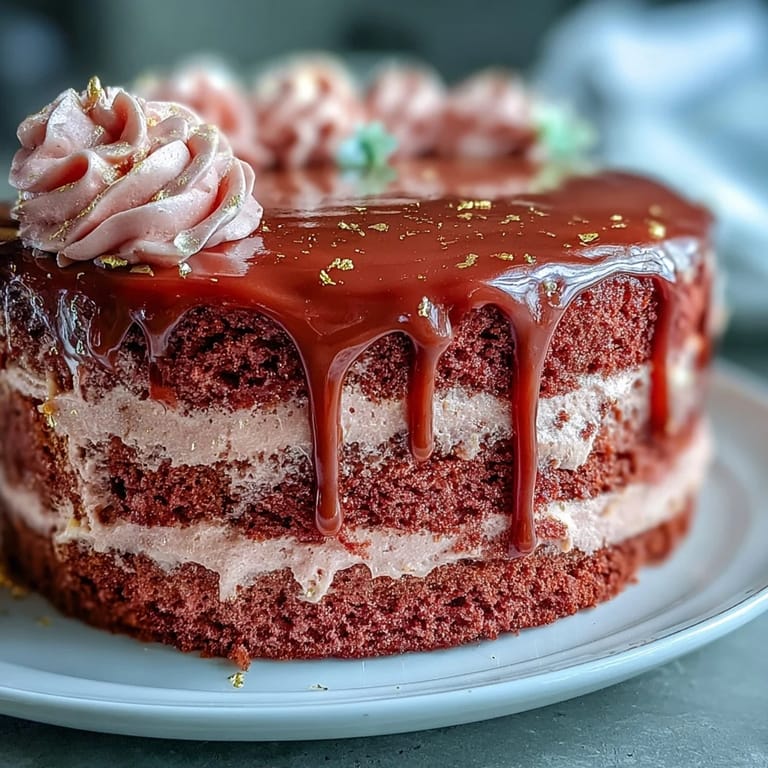
 There’s something magical about creating a cake that sparkles with both color and flavor, especially when it comes to special occasions. The first time I attempted this Rosé Velvet Cake was during a bridal shower for a dear friend, and it was a delightful rush from start to finish. As the sweet aromas of baking cake mingled with laughter and clinking glasses filled the air, I knew this would be a moment worth remembering. The blush-hued layers were like a symphony of celebration, perfect for the joy in the room. Every slice felt like sharing a hug in dessert form.
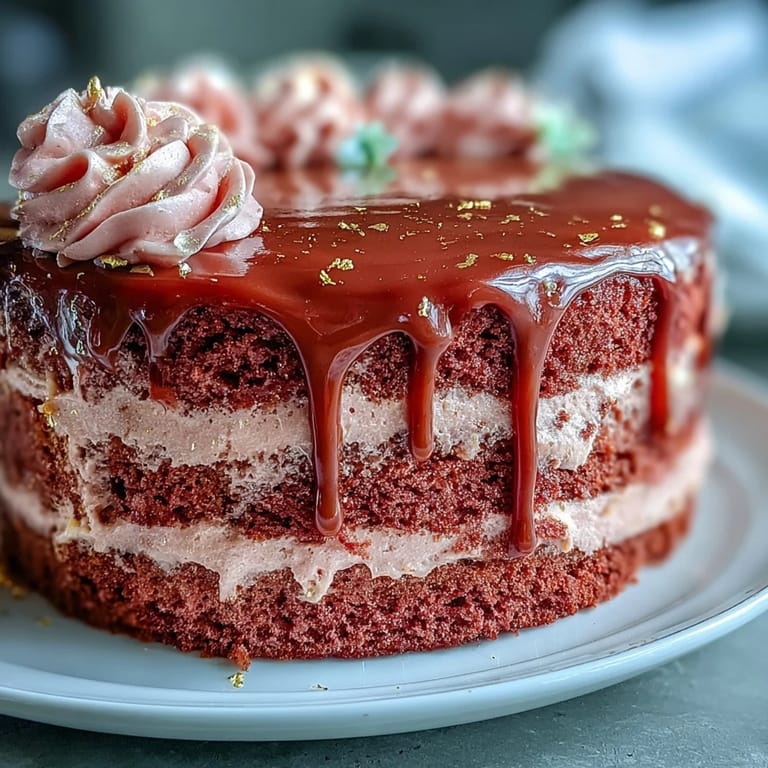
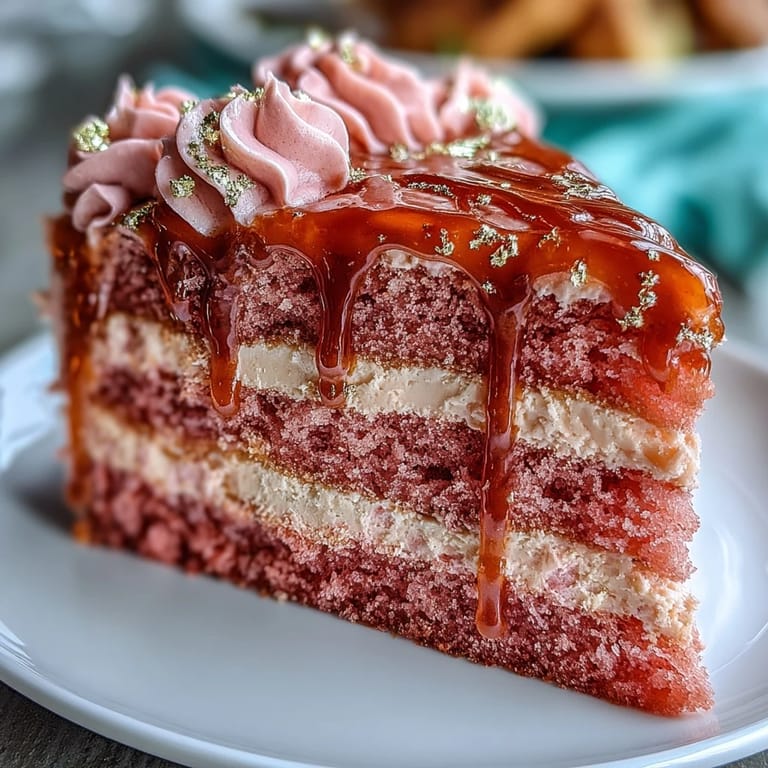
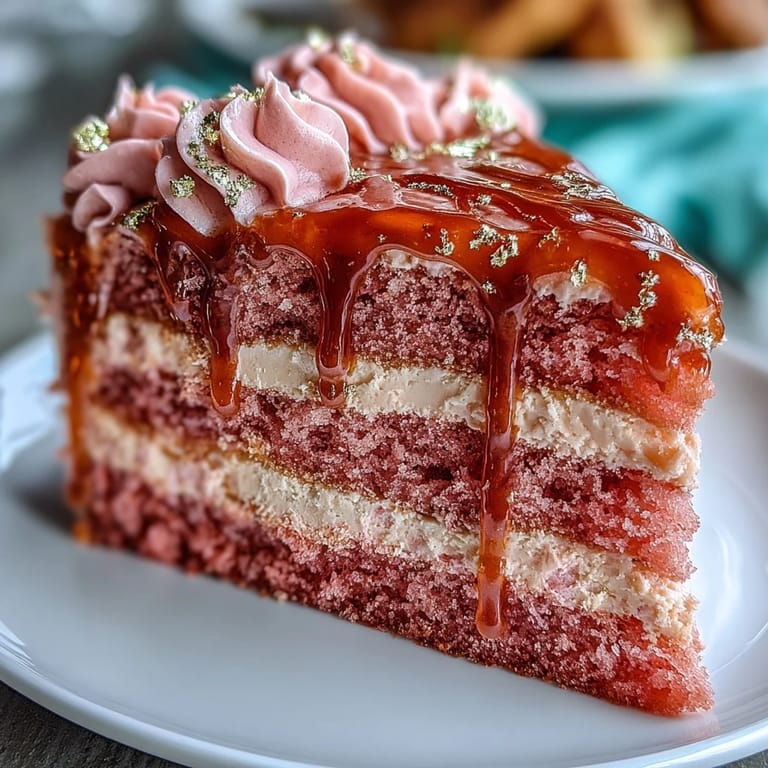
I remember how the room erupted in cheers when the cake was cut, revealing its stunning pink layers. It was the centerpiece of our gathering, each slice a reminder of friendship and celebration. Guests marveled at my baking prowess, but honestly, the secret was just a blend of enthusiasm and a touch of rosé. Watching everyone enjoy their slices, accompanied by laughter and clinking glasses, made my heart swell. That day transformed baking into an experience, a way to bond over shared sweetness.
Ingredients
- All-purpose flour: The backbone of the cake, it provides the right texture to hold those delightful layers together.
- Granulated sugar: Sweetens each bite, balancing the slight tartness from the rosé.
- Baking soda: Helps the cake rise beautifully, giving it that light, airy feel.
- Vegetable oil: Keeps the cake moist and tender, a tip I learned makes a world of difference.
- Rosé wine: Infuses a subtle floral note, offering a sophisticated flavor profile that delights the palate.
- Pink or rose gel food coloring: This makes it all about the aesthetic—just the right shade of pink for a bridal shower!
Tired of Takeout? 🥡
Get 10 meals you can make faster than delivery arrives. Seriously.
One email. No spam. Unsubscribe anytime.
Instructions
- Preheat and prep:
- Set your oven to 350°F (175°C) and get those cake pans ready with parchment paper. The anticipation of baking might just make your heart race a little!
- Sift those dry ingredients:
- In a big bowl, combine flour, sugar, baking soda, salt, and cocoa powder. It’s a moment of quiet focus, and the scent of the dry mix is always satisfying.
- Mix it up:
- In another bowl, whisk together the wet ingredients until they’re all blended and smooth. The vibrant colors and aromas hint at the magic about to happen.
- Bring it all together:
- Combine the wet and dry mixtures gently. The batter should be a rosy pink, and you’ll want to pause for a moment to admire it before baking.
- Divide and bake:
- Pour the batter evenly into your pans and pop them in the oven. The smell wafting through the kitchen is pure bliss, and you’ll want to sneak a taste!
- Cool it:
- Let the cakes cool for a bit in their pans before transferring them to a wire rack to cool completely. Patience here leads to a beautifully finished cake.
- Buttercream bliss:
- Beat your butter until it’s fluffy and mix in the powdered sugar gradually. The texture should be creamy—it’s a fun, rewarding step!
- Build your cake:
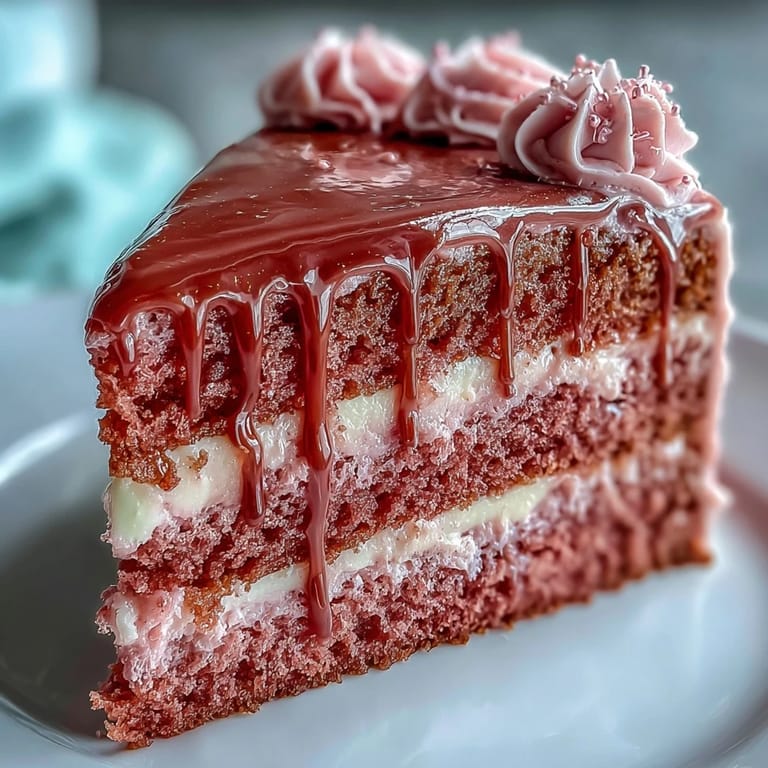
- Level the cooled layers and stack with buttercream in between. It’s like assembling a delicious masterpiece.
- Make it shine:
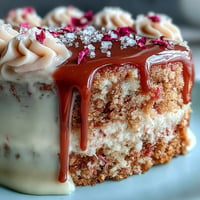
- For the gold drip, blend white chocolate with cream, creating a silky texture for draping. Visualizing the final look is what makes this stage exhilarating!
- Final touch:
- Add those gorgeous gold details and maybe a few edible flowers. It’s the finishing touch that elevates your creation to perfection.
 Save to Pinterest
  Save to Pinterest
 When I see someone take a bite of this cake and their eyes widen in delight, it’s a reminder of why I love baking. It’s more than just a recipe; it’s a way to share joy and create lasting memories with friends and family. Each slice carries a piece of the occasion, making it feel even more special.
Baking Secrets Unveiled
Being in the kitchen is all about experimentation and having fun. I once accidentally added too much rosé to the buttercream, and though I panicked, it turned out to be brilliantly flavored—sometimes mistakes create the best moments!
Ingredient Tips You’ll Appreciate
For a lighter texture, sift the dry ingredients a couple of times. Don't hesitate to taste your frosting along the way to balance the sweetness!
- Keep a close eye on your baking time; oven temperatures can vary.
- Rosé can be swapped for sparkling wine if you want a bubbly twist!
- Use a cake leveler for the cleanest layers—it makes a difference!
 Save to Pinterest
  Save to Pinterest
 This cake isn’t just food; it’s a beautiful creation that dances through celebrations, leaving sweetness in its wake.
Recipe Questions & Answers
- → What type of wine should I use?
Use a dry or sparkling rosé for a subtle floral note that enhances the cake's flavor.
- → Can I make this cake in advance?
Yes, this cake can be made a day ahead. Store in the refrigerator and bring to room temperature before serving.
- → Is the gold drip edible?
Yes, ensure to use edible gold luster dust, as non-edible metallics should be avoided.
- → What tools will I need for this cake?
You will need three 8-inch cake pans, a mixer, mixing bowls, an offset spatula, and parchment paper.
- → What allergens are present in this cake?
This cake contains wheat (gluten), eggs, and milk (dairy). Always check labels for specific dietary needs.
- → How many servings does this cake yield?
This cake yields approximately 12 servings, making it perfect for gatherings!