 Save to Pinterest
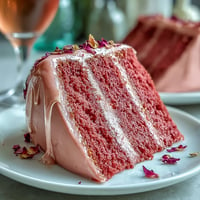
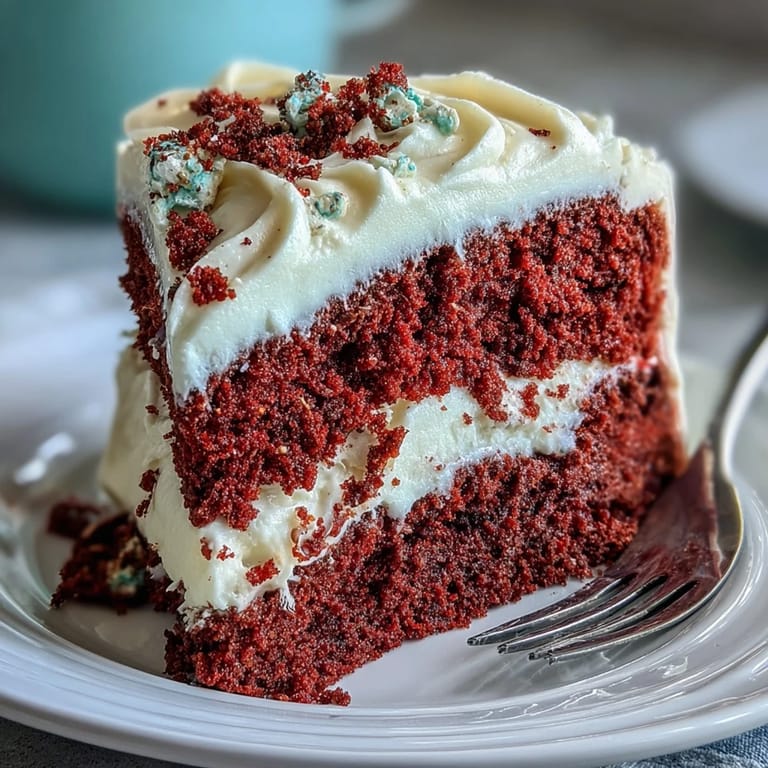
 The first time I made red velvet cake for Juneteenth, I ended up with streaks of red batter on every surface—my hands, the sink, even the handle of our fridge. The smell of cocoa and vanilla drifting from the oven always signals something celebratory in my kitchen, but that particular afternoon, I was mostly laughing at myself for how wild the mixing got. Bright, bold, and a little bit messy—much like family gatherings these days—the process has its own way of setting the mood. I learned that vibrant cakes have a knack for drawing people in before the first bite is taken. The anticipation as it baked felt electric, especially with cream cheese frosting ready on standby.
One June evening, spirited debate broke out at the table over which was the best frosting: buttercream or cream cheese. By the end of dessert, even our proudest buttercream loyalist was swayed. I still grin remembering the satisfied silence as plates emptied and crumbs disappeared. It's as if the cake did all the talking that day. Sometimes, baking something from scratch gives everyone an excuse to linger a little longer together.
Ingredients
- All-purpose flour: Go for unbleached if you can; it gives the cake a more tender crumb and helps avoid that pasty aftertaste.
- Granulated sugar: White sugar balances the tang and keeps the crumb feathery; don’t swap for brown or it’ll mask the red.
- Baking soda: Just a teaspoon gives lift—make sure it’s fresh so the cake isn’t dense.
- Salt: A little pinch sharpens the cocoa and lifts all the other flavors.
- Cocoa powder: Use natural, not Dutch-processed, to give the cake that subtle, classic cocoa note.
- Vegetable oil: Oil keeps the cake impossibly moist so leftover slices are just as good the next day.
- Buttermilk: Let it come to room temp so it blends smoothly with the other liquids and keeps things soft.
- Eggs: Room temp eggs whip in easily; crack them into a separate bowl first so there are no shell surprises.
- Red food coloring: Liquid or gel both work—don’t hold back if you want the color to really pop.
- Distilled white vinegar: Essential for the subtle tang and for reacting with the baking soda to lift the cake.
- Vanilla extract: A deep, true vanilla is worth it here; it perfumes the whole crumb.
- Cream cheese: Let it truly soften—cold cream cheese won’t whip right or yield that signature cloud-like frosting.
- Unsalted butter: Softened butter beats up fluffiest with the cream cheese so the frosting goes on silky smooth.
- Powdered sugar: Sifted, always; clumps are a heartbreaker in cream cheese frosting.
- Vanilla extract (frosting): Makes the frosting taste like it came from a bakery, not a supermarket tub.
- Pinch of salt (frosting): Shortcut to balancing out the sweetness in every bite.
Tired of Takeout? 🥡
Get 10 meals you can make faster than delivery arrives. Seriously.
One email. No spam. Unsubscribe anytime.
Instructions
- Prep the pans:
- Grease and flour your two cake pans until every nook is coated—nothing sours a celebration like a cake stuck in the pan.
- Sift the dry ingredients:
- Scoop flour, sugar, baking soda, salt, and cocoa into a bowl and sift until it looks like powdered velvet; the air will fill with the scent of chocolate.
- Mix the wet ingredients:
- Whisk oil, buttermilk, eggs, red food coloring, vinegar, and vanilla in a big bowl until it looks silky and outrageously red—don't be afraid to get a little on your hands.
- Combine wet and dry:
- Tip the dry mixture into the wet and fold gently; as soon as there are no streaks, stop mixing so the cake stays tender.
- Bake:
- Pour the batter into pans and give them a tap on the counter, then bake until domed and a toothpick comes out mostly clean—your kitchen should smell like a chocolate shop.
- Cool the cakes:
- Let them sit in the pans for a few minutes, then turn out onto a wire rack; listen for the soft thump as they land.
- Make the frosting:
- Beat cream cheese and butter till light and billowy, then sift in powdered sugar and beat in vanilla and a pinch of salt—a cloudlike frosting is the goal.
- Frost and decorate:
- Once cakes are cool to the touch, layer and frost generously, swirling the sides until you’re satisfied, and finish with sprinkles or red velvet crumbs if you like.
 Save to Pinterest
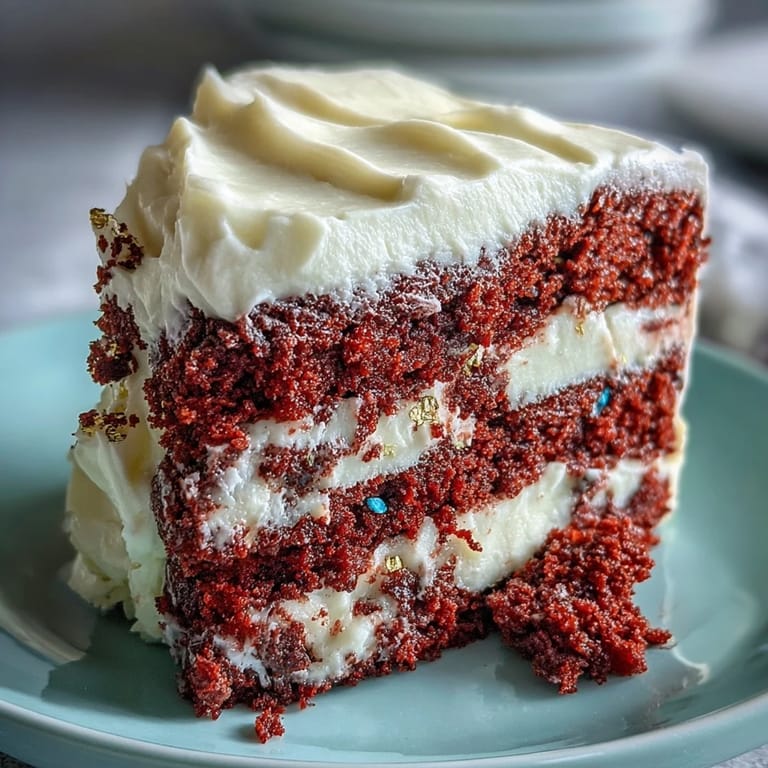
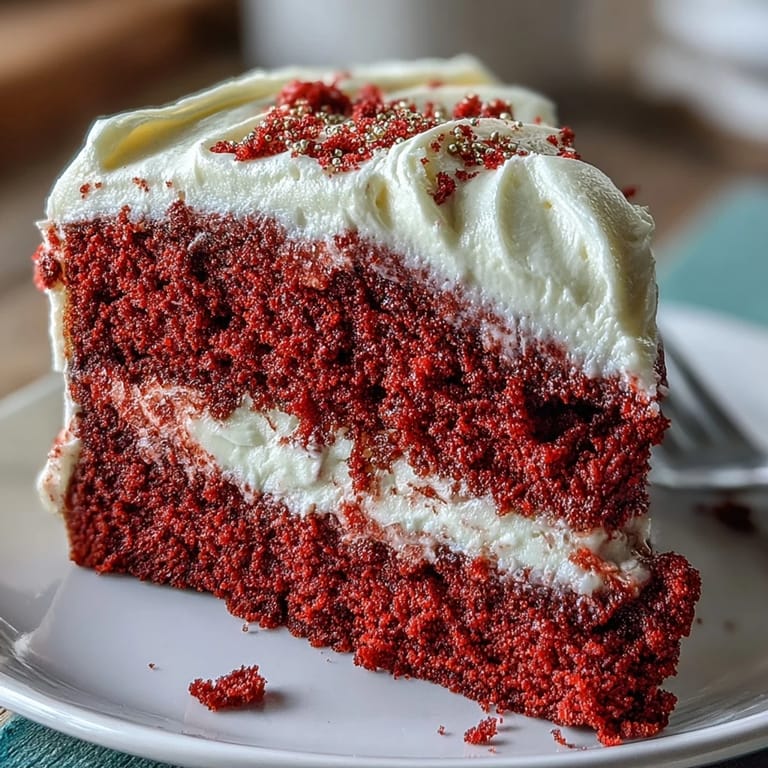
 When my nephew took his first bite, he leaned over and whispered that this cake was 'louder than fireworks.' It was a little triumph for me, reminding me that, sometimes, desserts can make a day feel bigger and brighter than you planned.
Keep Your Cake Vibrant
If you want a dramatic, bold red, always use the full measure of food coloring—don’t be tempted to skimp. The visual pop is part of the fun, and it makes those celebratory photos extra special. I’ve also learned that not all food colorings are made equal; some give a richer hue with less. Invest in a high-quality gel if you bake red velvet often. It’s a small switch that makes a big difference when the cake is sliced.
Making Ahead and Storage
Red velvet holds up beautifully, and I often make the layers a day in advance and wrap them tightly in plastic. Frosting it the next day gives the cake time to settle, making the final product even more delicious. Always chill leftover slices—cream cheese frosting gets firmer and the flavors keep melding. If you have decorations, add them fresh just before serving. You’ll keep that fresh-from-the-oven feeling even when the cake’s had a night in the fridge.
Extra Touches That Wow
Sometimes I’ll zest a bit of orange right into the frosting for an uplifting citrus hint—the tiniest tweak, but people ask what makes it taste different. Red or gold sprinkles add a festive Juneteenth flair, but cake crumbs are a classic for a reason: they tell everyone this is homemade. For special gatherings, I’ve even arranged berries on top for a pop of color and freshness.
- If the frosting feels too thick, loosen it with a splash of milk.
- Use a warm spatula to smooth frosting into glossy swirls.
- Don’t forget to let the cake come up to room temperature before serving for best texture.
 Save to Pinterest
 May every slice bring a little extra color and conversation to your table. Happy Juneteenth, and may your celebrations be sweet and memorable.
Recipe Questions & Answers
- → How do I get a rich red color?
Use a concentrated red gel or adjust liquid food coloring gradually. Red reacts with cocoa and acidity; more vivid color often requires a bit more pigment than expected.
- → Can I swap vegetable oil for butter?
Yes. Butter adds flavor but can slightly change texture; replace oil with melted butter for a richer crumb, and note baking times may vary a few minutes.
- → What yields the best crumb texture?
Buttermilk and oil keep the crumb tender and moist. Avoid overmixing after combining wet and dry ingredients to prevent a dense result.
- → How should I chill the frosted layers?
Once frosted, chill the cake for at least 30 minutes to set the cream cheese frosting. This firms the surface and makes slicing cleaner.
- → How can I add a citrus note to the frosting?
Fold a small amount of finely grated orange zest into the frosting for a subtle bright contrast to the tangy cream cheese without thinning the icing.
- → How do I prevent frosting from becoming too loose?
Start with properly softened (not warm) cream cheese and butter, beat until light, then add powdered sugar gradually. If frosting loosens, chill briefly and rewhip to restore structure.