 Save to Pinterest
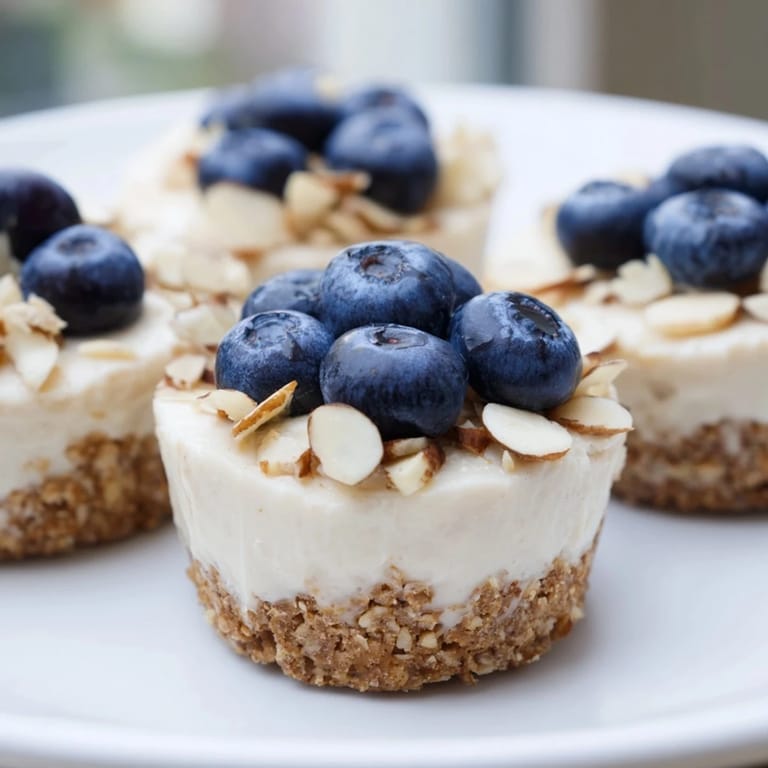
 I discovered these protein cheesecake cups on a Tuesday afternoon when I was tired of the same post-workout shake routine. My kitchen counter was cluttered with containers of protein powder, Greek yogurt, and cream cheese, and I thought, why not combine them into something that actually tastes like dessert? The first batch came together in less than twenty minutes, and by the time they set in the fridge, I realized I'd stumbled onto something that felt indulgent but didn't make me feel guilty afterward.
A friend stopped by one afternoon while these were chilling, and when she pulled one from the fridge, she broke off a piece of the base and popped it in her mouth without asking. The crunch caught her off guard, then the creamy filling melted on her tongue, and suddenly she was asking for the recipe before even finishing that first bite. That's when I knew I'd created something worth sharing.
Ingredients
- Oat flour: The foundation of your crust; it creates that satisfying crunch while keeping everything whole-grain and filling.
- Almond or peanut butter: This binds everything together and adds richness without requiring eggs or baking.
- Honey or maple syrup: Just enough sweetness to balance the base without making it cloyingly sugary.
- Cream cheese: The heart of cheesecake flavor; make sure it's softened so it blends smoothly with the yogurt.
- Greek yogurt: This replaces some of the heavy cream you'd use in traditional cheesecake, cutting calories while boosting protein.
- Vanilla whey protein powder: Adds substantial protein without any grainy texture if you mix it in thoroughly.
- Lemon zest: A whisper of brightness that makes the whole thing taste more sophisticated without being obvious.
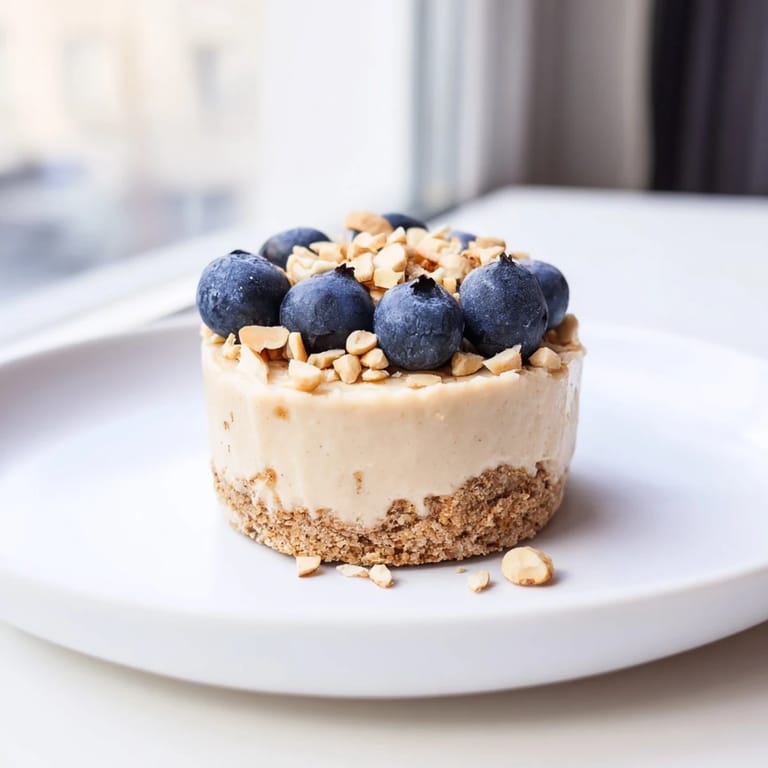
- Fresh berries, nuts, or chocolate shavings: These toppings turn a simple cup into something that feels special.
Tired of Takeout? 🥡
Get 10 meals you can make faster than delivery arrives. Seriously.
One email. No spam. Unsubscribe anytime.
Instructions
- Mix the crust base:
- Combine your oat flour, nut butter, honey, and salt in a bowl and stir until you have a crumbly mixture that holds together when pressed. The texture should remind you of wet sand, not a smooth dough.
- Press into cups:
- Divide the base evenly among six muffin liners and press down firmly with your fingers or the bottom of a glass. This step is worth taking seriously because a solid crust keeps everything from becoming a soggy mess.
- Prepare the filling:
- Beat your softened cream cheese until it's completely smooth, then add the Greek yogurt, protein powder, honey, vanilla, and lemon zest. Mix until you have no lumps and everything is pale and fluffy.
- Fill the cups:
- Spoon the creamy filling over each base, smoothing the tops with a spatula so they look clean and inviting.
- Add your toppings:
- Scatter berries, chopped nuts, or chocolate shavings on top before chilling. They'll stay in place as everything sets.
- Chill thoroughly:
- Let these sit in the fridge for at least two hours until the filling is completely set and firm to the touch.
- Serve and enjoy:
- Pop them out of the liners and eat them straight from the fridge, where they're best.
 Save to Pinterest
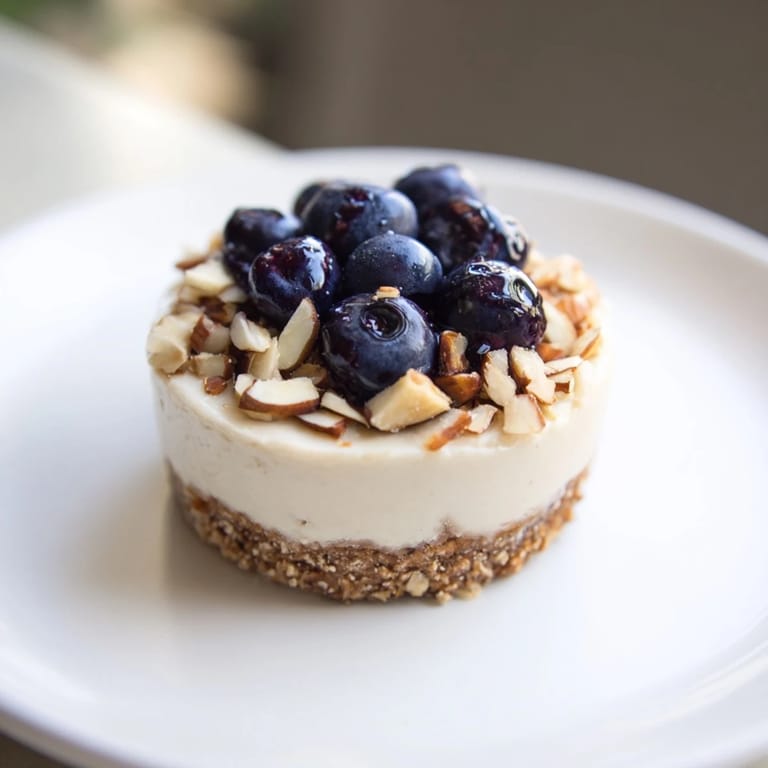
 There's something satisfying about pulling a perfectly set cheesecake cup from the fridge, peeling away the paper liner, and knowing that what you're about to eat took almost no effort but tastes like you spent hours in the kitchen. That moment of mild pride over something so simple never gets old.
Storage and Make-Ahead Magic
These cups keep beautifully in the fridge for up to five days, which makes them perfect for meal prep on a Sunday afternoon. I've found that they actually taste slightly better on day two or three, once all the flavors have settled and melded together. They don't freeze well due to the yogurt content, so don't try that route.
Flavor Variations to Try
Once you master the basic version, the possibilities open up in fun directions. I've swapped vanilla for chocolate protein powder, added a tablespoon of cocoa powder to the filling, and topped it all with raspberries. Other times I've mixed a tiny bit of almond extract into the filling or swirled a spoonful of peanut butter into the cream cheese layer before adding it to the cups. The base is flexible enough to handle different nut butters too, so try whatever sounds good to you.
The Protein Powder Question and Other Tweaks
Vanilla whey protein is my go-to, but I've also made these with chocolate and birthday cake flavors with equally delicious results. If you're vegan, plant-based protein powders work just fine; just use dairy-free cream cheese and coconut yogurt instead. The base can be customized too—crushed gluten-free cookies, granola, or even crushed almonds work in place of oat flour if you want to experiment. Adjust the sweetness to your taste by adding more or less honey, and remember that the berries on top will add their own natural tartness.
- Always taste your filling mixture before you pour it into the cups so you can adjust sweetness or flavor intensity.
- If your cream cheese seems too thick even after softening, let it sit out for another five minutes before mixing.
- The lemon zest is optional but genuinely makes the cheesecake taste more refined and less one-dimensional.
 Save to Pinterest
 These protein cheesecake cups turned an ordinary afternoon habit into something I actually look forward to, and they've quietly become my favorite way to satisfy something sweet without the usual breakfast-the-next-day regret. Make a batch this week and see what I mean.
Recipe Questions & Answers
- → Can I make these gluten-free?
Yes, substitute oat flour with almond flour or use gluten-free cookies for the base to keep it gluten-free.
- → What protein powder works best here?
Vanilla whey protein powder blends smoothly and adds a pleasant flavor, but any vanilla-flavored protein powder can be used.
- → How long should I chill the cups?
Chilling for at least 2 hours allows the filling to set properly and develop a creamy texture.
- → Are there vegan alternatives for this dish?
Use dairy-free cream cheese, plant-based yogurt, and a vegan protein powder to create a vegan-friendly version.
- → Can I add toppings to customize the cups?
Absolutely, toppings like fresh berries, chopped nuts, or dark chocolate shavings enhance flavor and texture.