 Save to Pinterest
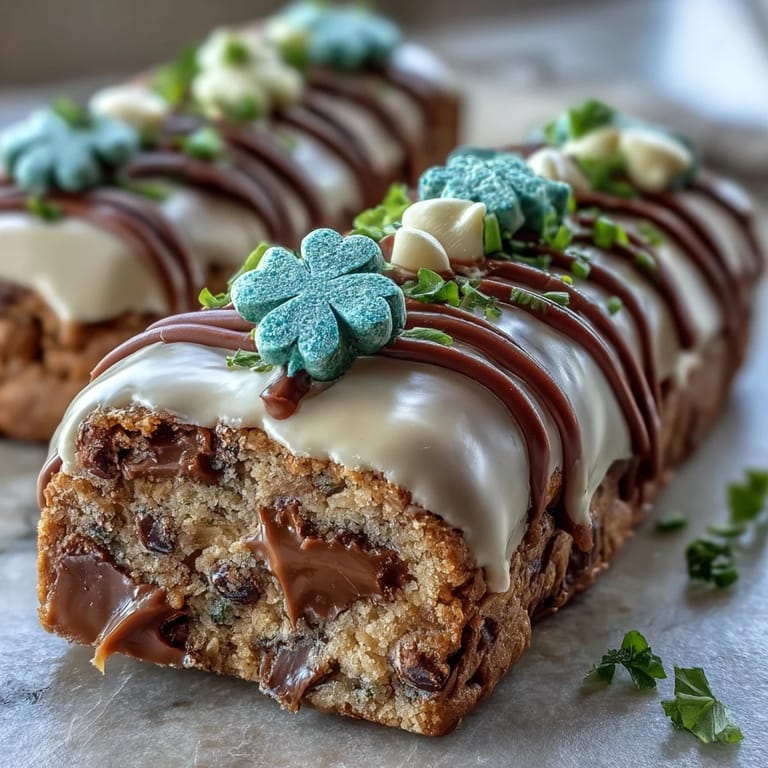
 My neighbor showed up at my door on March 16th with a plate of these Lucky Clover cookie bars, still warm, and I understood immediately why she'd been humming all morning while baking. There's something about the combination of melted butter, brown sugar, and the gentle crunch of green sprinkles that makes you feel like you're celebrating something bigger than just a holiday. She told me she'd made them the night before for her daughter's school party, and there were somehow still a few left. One bite and I was writing down the recipe on the back of an old envelope before she even finished her coffee.
I made these for a St. Patrick's Day potluck once, cutting them into slightly uneven squares because I was rushing, and someone asked if the "rustic sizing" was intentional. It wasn't, but I nodded anyway, and suddenly my kitchen mistakes became a design choice. That's when I realized these bars have this forgiving, generous quality that works whether your edges are perfect or a little rough around the edges.
Ingredients
- All-purpose flour: Use fresh flour that hasn't been sitting in your pantry for years; it makes a tangible difference in how tender these bars turn out.
- Unsalted butter: Melting it slightly and letting it cool keeps your dough from becoming greasy, which is the secret to that perfect chewy texture.
- Light brown sugar: The molasses adds moisture and depth; don't swap it out for regular sugar unless you want noticeably drier bars.
- Granulated sugar: This works alongside the brown sugar to keep the edges crispy while the center stays soft.
- Eggs: Make sure they're at room temperature so they blend smoothly without any separation.
- Semi-sweet chocolate chips: Buy the good kind; the cheap ones have a waxy texture that disappears into the bars instead of creating little pockets of chocolate joy.
- White chocolate chips: These are optional but they add brightness and create visual interest against the darker chips.
- Green sprinkles: This is where you can have fun; sanding sugar creates elegance while pearl sprinkles give you that nostalgic candy look.
Tired of Takeout? 🥡
Get 10 meals you can make faster than delivery arrives. Seriously.
One email. No spam. Unsubscribe anytime.
Instructions
- Prep your pan like you mean it:
- Line that 9x13-inch pan with parchment paper, making sure it overhangs on the sides so you can lift the whole block out without wrestling with it. This isn't laziness; it's wisdom.
- Whisk your dry ingredients together:
- Combine the flour, baking soda, and salt in a medium bowl, breaking up any lumps in the flour as you go. This ensures even distribution so every bite has the same texture.
- Combine your wet ingredients:
- In a larger bowl, whisk the melted butter with both sugars until the mixture looks smooth and combined, which takes about a minute of actual whisking. Add your eggs one at a time, then the vanilla, whisking until everything is incorporated and the mixture looks glossy.
- Fold in the dry ingredients gently:
- This is the moment where patience matters; use a spatula to fold the dry mixture into the wet ingredients just until combined. Overmixing develops gluten and makes the bars tough, so stop folding the second you can't see streaks of flour anymore.
- Add your chocolate and sprinkles:
- Gently stir in the semi-sweet chips, white chocolate chips, and half the green sprinkles, folding just enough to distribute them evenly without crushing the chips. The goal is pockets of chocolate throughout, not chocolate dust.
- Spread and decorate:
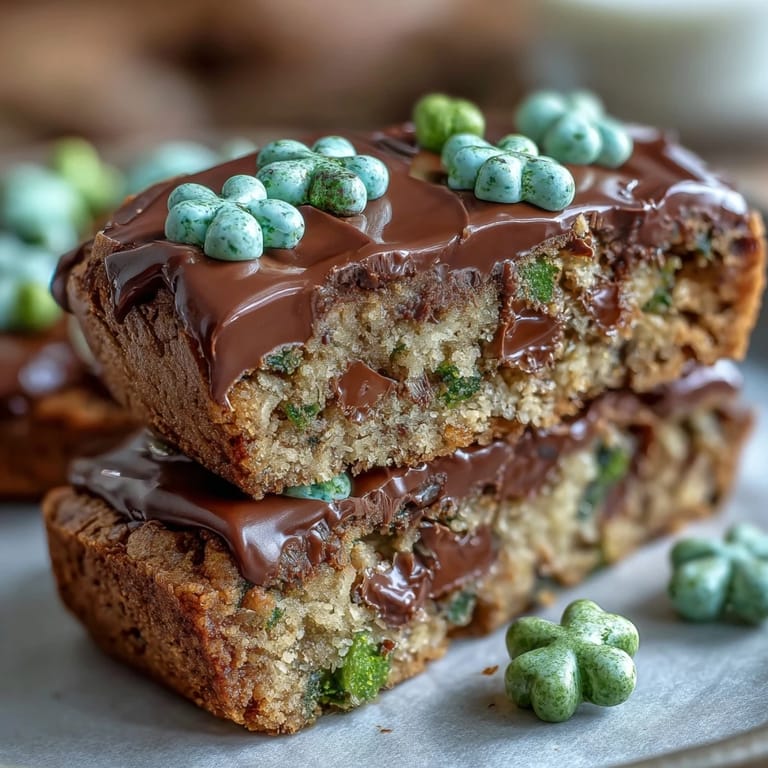
- Pour the dough into your prepared pan and use an offset spatula or the back of a spoon to spread it evenly, pressing gently so it fills the corners. Sprinkle the remaining green sprinkles, green candies if using, and clover-shaped sprinkles on top while the dough is still soft so they stick.
- Bake with attention:
- Slide into a 350°F oven for 23 to 26 minutes, watching for that light golden color around the edges while the center still looks slightly underbaked. When you insert a toothpick, it should come out with a few moist crumbs, not clean; these bars continue cooking slightly as they cool.
- Cool completely before cutting:
- Let them sit in the pan until they're completely cool to the touch, which usually takes about an hour. This isn't optional; cutting them while warm makes them crumbly and sad.
 Save to Pinterest
 My daughter now requests these every March without fail, and she's started decorating them with me, using the sprinkles like she's creating edible art. There's something about standing together at the kitchen counter, the oven warming up the room, that transforms a simple recipe into a tradition.
Storage and Make-Ahead Tips
These bars actually improve after a day or two as the flavors mellow together and the texture becomes more set, which means you can bake them the day before your celebration without any guilt. Keep them in an airtight container at room temperature for up to 5 days, or wrap them individually and freeze for up to 2 months if you want to have a festive treat ready whenever the mood strikes.
Customizing Your Clover Bars
The beauty of this recipe is how easily it bends to what you have on hand or what sounds good to you. I've made versions with dark chocolate instead of semi-sweet, added a handful of crushed pretzels for texture, and once used crushed candy canes left over from Christmas and honestly, nobody complained about the creativity.
The Magic of Festive Baking
There's something unexpectedly joyful about baking something specifically for a holiday that goes beyond the eating; it's the act of marking time and creating something colorful in what might be an ordinary kitchen. These bars are my proof that you don't need complicated techniques or rare ingredients to feel like you've accomplished something worth celebrating.
- If you want them fancier, drizzle melted white chocolate over the cooled bars and add extra sprinkles before it sets.
- Make sure your green sprinkles are actually food-safe and not decorative crafting sprinkles, a mistake I only made once.
- Cut these bars with a sharp knife wiped clean between cuts for cleaner edges that look more intentional.
 Save to Pinterest
 These Lucky Clover cookie bars are the kind of recipe that makes you feel like a generous baker without requiring you to be an expert, and that's exactly what makes them worth keeping around. Bake them once and you'll understand why my neighbor showed up with that plate.
Recipe Questions & Answers
- → What makes these bars chewy?
A balanced mix of brown sugar and melted butter creates a moist, chewy texture that sets these bars apart.
- → Can I substitute the green sprinkles?
Yes, you can use sanding sugar or colored candies to maintain the festive appearance without compromising flavor.
- → How should these bars be stored?
Store them in an airtight container at room temperature for up to a week, or freeze for longer freshness.
- → Are nuts recommended as an addition?
Adding chopped nuts can introduce a pleasant crunch and complement the chocolate chips, but ensure no allergies are present.
- → What is the ideal baking time for these bars?
Bake for 23 to 26 minutes until lightly golden; a toothpick inserted should come out with a few moist crumbs.
- → Can I add extra decoration after baking?
Yes, drizzling melted white chocolate and adding more sprinkles enhances both flavor and presentation.