 Save to Pinterest
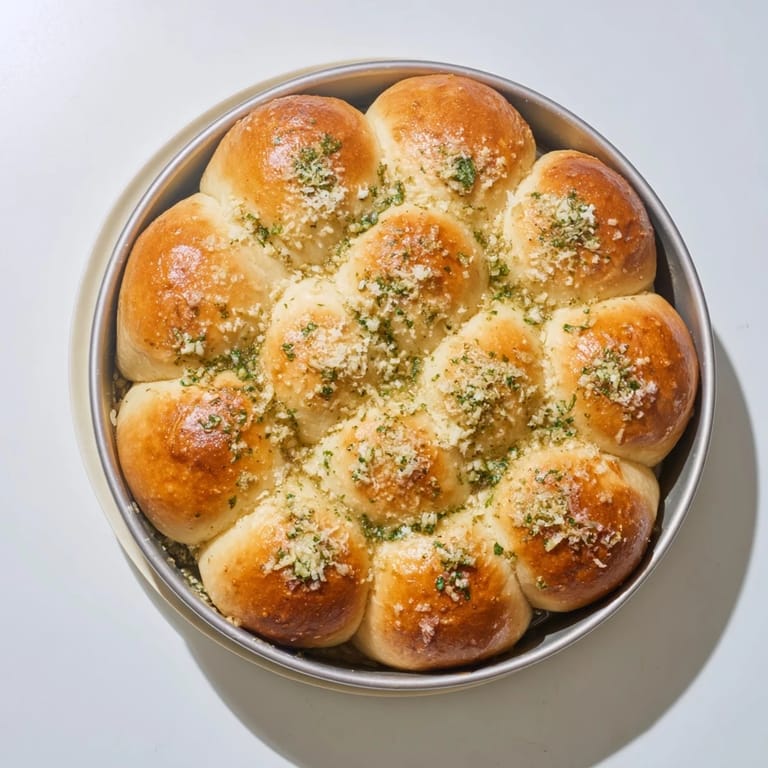
 The moment these rolls hit the oven, the entire house fills with that irresistible garlic butter smell that makes everyone wander into the kitchen asking whats for dinner. I first made them on a rainy Sunday afternoon when friends were coming over for impromptu soup, and honestly, theyre the reason I now keep fresh garlic in my pantry at all times. Something about pulling apart warm, buttery bread together just makes people happy and conversations flow easier.
Last Christmas Eve, my sister showed up unexpectedly with her family, and I threw these together at the last minute. Watching everyone reach in and tear off their own piece, butter dripping down their chins, laughing as they fought over the corner pieces with the most caramelized edges, that moment became a new tradition. Now they request them before they even ask whats on the main menu.
Ingredients
- All-purpose flour: Creates the structure for the dough while keeping it tender and soft enough for pulling apart
- Instant yeast: Makes the whole process faster since you can skip the proofing step and add it directly to the flour
- Warm milk: The liquid activates the yeast and adds subtle richness, but make sure its warm to the touch like a babys bath, not hot
- Melted butter: Keeps the dough tender and adds that classic bread flavor everyone loves
- Garlic cloves: Fresh minced garlic is non-negotiable here, garlic powder just cant give you that same aromatic punch
- Fresh parsley: Adds bright color and a fresh herbal contrast to the rich butter
- Parmesan cheese: Totally optional, but if you love that salty, umami finish, do not skip it
Tired of Takeout? 🥡
Get 10 meals you can make faster than delivery arrives. Seriously.
One email. No spam. Unsubscribe anytime.
Instructions
- Mix the dough base:
- Combine the flour, instant yeast, sugar, and salt in a large bowl, then pour in the warm milk and melted butter. Stir everything together until you have a rough, shaggy dough forming.
- Knead until smooth:
- Turn the dough out onto a lightly floured surface and knead for 7 to 8 minutes, feeling it transform from sticky to smooth and elastic under your hands.
- Let it rise:
- Place the dough in a greased bowl, cover it with a warm towel, and let it hang out in a cozy corner until it doubles in size, about an hour.
- Make the garlic butter:
- While the dough rises, mix the melted butter, minced garlic, parsley, salt, and pepper in a small bowl until fragrant and well combined.
- Shape the rolls:
- Punch down the risen dough, divide it into 12 equal pieces, and roll each into a smooth ball between your palms.
- Coat and arrange:
- Dip each dough ball generously in the garlic butter, place them in a greased round pan or skillet, and drizzle any remaining butter over the top.
- Second rise:
- Cover the pan loosely and let the rolls rise again for 20 to 30 minutes until they look puffy and are touching each other.
- Bake until golden:
- Sprinkle with Parmesan if using, then bake at 350°F for 22 to 25 minutes until the tops are beautifully golden brown and the rolls are cooked through.
 Save to Pinterest
 My nephew used to be suspicious of anything with visible herbs, but after watching me make these and getting to dip his own dough ball in the butter, he now asks to help every single time. Theres something about hands-on food that brings people together in ways plated dishes never do.
Make It Your Own
Once you have the basic technique down, these rolls become a canvas for whatever flavors you are craving. Add red pepper flakes to the butter for heat, or mix in some shredded mozzarella for extra cheese pull. I have even added chopped sun-dried tomatoes and basil when Italian food was on the menu.
Serving Suggestions
These are the ultimate companion to soups and stews, but honestly, I have been known to make a meal out of just the rolls and a simple green salad. They also disappear shockingly fast alongside pasta dishes or even as an appetizer with marinara for dipping when friends come over.
Storage and Reheating
If by some miracle you have leftovers, store them in an airtight container at room temperature for up to two days. When you want to refresh them, wrap in foil and warm in a 350°F oven for about 10 minutes. They will taste almost as good as fresh baked.
- Freeze unbaked rolls after the first rise, thaw overnight, then let rise again before baking
- Mix up the garlic butter a day ahead and keep it refrigerated for faster prep
- Reheat day-old rolls in the microwave for 15 seconds if you are in a hurry
 Save to Pinterest
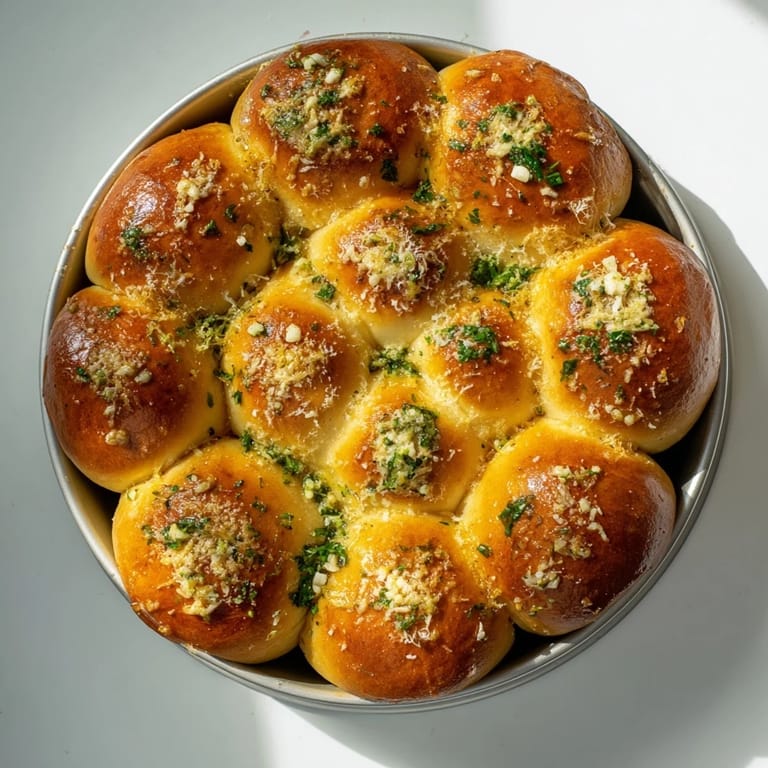
 There is nothing quite like the first warm bite, with butter dripping down your fingers and the house still smelling like fresh bread. Make these once, and they will become your go-to for everything from weeknight dinners to special occasions.
Recipe Questions & Answers
- → How do I know when the rolls are done baking?
The rolls are ready when they're golden brown on top and sound hollow when tapped lightly. An instant thermometer inserted into the center should read about 190°F (88°C).
- → Can I make these ahead of time?
Yes, you can prepare the dough and let it rise in the refrigerator overnight. Bring to room temperature before shaping, dipping in garlic butter, and baking for the second rise.
- → What can I use instead of fresh garlic?
Garlic powder works in a pinch—use about 1 teaspoon. However, fresh minced garlic provides the best aromatic flavor and texture that garlic powder can't quite replicate.
- → Why did my dough not double in size?
This usually happens if the yeast was expired, the liquid was too hot killing the yeast, or the rising area was too cold. Ensure your milk is warm (110°F) and let rise in a draft-free, warm spot.
- → Can I freeze the baked rolls?
Absolutely. Once cooled completely, wrap tightly in plastic and freeze for up to 3 months. Reheat in a 350°F oven for 10 minutes to refresh the texture and warmth.
- → What other herbs work well in the butter coating?
Fresh rosemary, thyme, or oregano add lovely depth. Chives or basil also complement the garlic beautifully. Use about 2 tablespoons of your chosen herb, finely chopped.